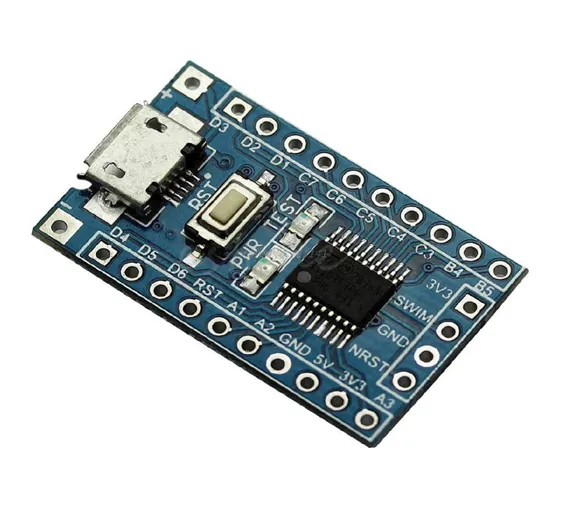
STM8S003F3P6 STM8 Minimum Development Board In Pakistan
SKU: SB 23 , D 170,IMP30,TH10,KRT13
This STM8S003F3P6 development board is a minimal breakout board for the STM8 micro-controller. All of the I/O pins are marked and routed to standard 2.54 mm pins for convenient use.
SPECIFICATIONS:
- On-board STM8S003F3P6 chip
- On-board SWIM connector for programming
- On-board reset switch
- Reserved external crystal oscillator soldering place
- AMS1117-3.3 voltage regulator for covering 5 V power supply to 3.3 V
- Mini USB connector for powering the board
- Board Size: 36.5 x 21.6 mm
QUICK LINKS:
- STM8S003F3 Datasheet
- STM8S103F3P6 Schematic Diagram
- STM8S103F3 Datasheet
- CD00265449
WHAT IS STM8
It’s an inexpensive, 8-bit microcontroller manufactured by ST, which could replace the Arduino/ATMEGA in simple applications.
POWERING THE BOARD
On the backside, you can see an LT1117-3.3 in SOT223, which converts the input voltage from the RAW pins (the left corners) to 3.3 V. The board can also be powered via the USB connector, but the data lines are sadly not connected anywhere.
Both the input voltage and the regulated 3.3 V can be used for external circuits, they’re available on the bottom header. Confusingly, the “5V” pin is directly connected to the input, there’s no 5 V regulator. With USB connected, you’ll of course get something quite close to 5 V.
If you plan on driving something power-hungry from the 3.3 V output, keep in mind that there’s no heatsink on the regulator, so it could easily get hot if you use higher input voltage or overdo it with the current draw. For Neopixels and such, I recommend you connect them directly to the 5 V line (provided you’re powering the board from USB!)
There are two more ways to power the board, namely the pins in the bottom row, and the “3V3” pin in the programming header. It appears you can simply connect an external 3.3 V source to either of the “3V3” pins and it’ll work. I was worried the LDO might not like that, but it works just fine.
This means you can power it straight from the programmer, but be super careful with larger loads: There’s a really tiny regulator in the ST-Link dongle (pics below). Easy to fry.


